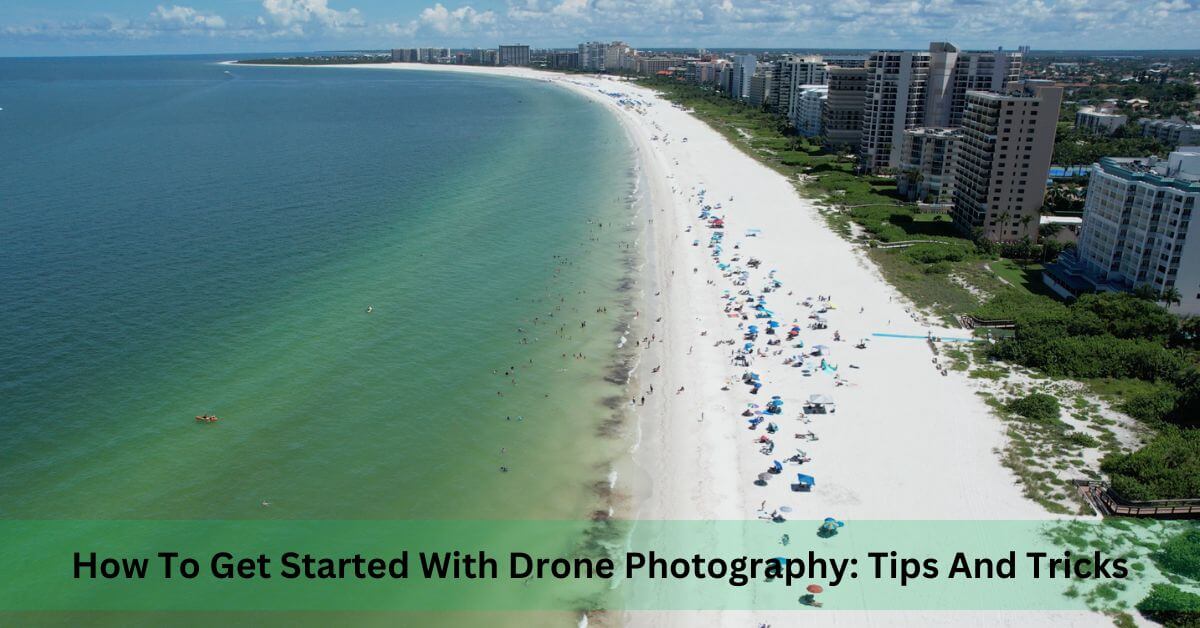
Drone photography has skyrocketed in popularity, and it’s easy to see why. Capturing breathtaking aerial shots and unique perspectives adds a whole new dimension to photography. If you’re wondering what all the buzz is about and how to get started, you’re in the right place.
The benefits and opportunities in drone photography are massive. From real estate and weddings to travel and nature shoots, drones can elevate your photography game. Plus, the thrill of piloting a drone is something you can’t get with a regular camera.
Before you take off, it’s crucial to understand the legal considerations and safety measures. Every country has its own regulations regarding drone usage, so checking local laws is a must. It’s also essential to respect privacy, avoid restricted areas, and keep safety top of mind. This means always conducting pre-flight checks and making sure you’re familiar with your drone’s features and controls.
Getting Started with DJI Mavic Air 2S
The DJI Mavic Air 2S is a solid choice for both beginners and seasoned drone photographers. Its compact design, impressive camera capabilities, and user-friendly features make it a standout. Let’s break down what makes this drone an excellent pick.
First, the features and specifications. The Mavic Air 2S boasts a 1-inch sensor, capable of capturing 20-megapixel stills and 5.4K video. Its smart features like MasterShots and FocusTrack enhance your photography experience by automating complex shots and tracking subjects effortlessly. Also, the drone can fly up to 31 minutes on a single charge, giving you ample time to capture the perfect shot.
Setting up your DJI Mavic Air 2S is straightforward. Start by unboxing your drone and checking that all components are included: the drone, remote controller, propellers, battery, and accessories. Charge the battery completely before your first flight. Install the DJI Fly app on your smartphone, and follow the in-app instructions for activation and firmware updates. Pair your drone with the remote controller and calibrate the compass for accurate flight controls.
Don’t overlook the essential accessories for drone photography. Extra batteries are a lifesaver for extended shoots. A carrying case will keep your gear protected while traveling. ND filters are great for managing light exposure, especially on bright days. Lastly, always have a set of replacement propellers on hand just in case. All of this is provided in the Fly More Combo.
Tips and Tricks for Stunning Drone Shots
Choosing the right location can make a huge difference in the quality of your shots. Look for areas with interesting landscapes, landmarks, or unique patterns. Morning and golden hour lighting are ideal times for shooting, providing soft, warm light that adds a magical touch.
Mastering camera settings and flight techniques will elevate your drone photography. Use manual settings to control ISO, shutter speed, and aperture for the best results. Practice flying your drone smoothly and steadily to avoid blurry images and shaky footage.
Post-processing is where you can truly transform your drone photos. Software like Adobe Lightroom or Photoshop is excellent for editing. Adjust the exposure, contrast, and colors to enhance your images. Don’t be afraid to experiment with cropping and framing to find the perfect composition.
Click Here >> Consider Picking Up The DJI Air 2S